 Shoopy
 Create your Shoopy account
Sign up for Shoopy using your mobile number or email — no password needed. Shoopy uses a one-time code (OTP) for both signup and login.
Sign up for Shoopy in under a minute. There’s no password to remember — Shoopy sends a one-time code (OTP) to your phone or email for both signup and login.
Before you begin
You’ll need one of:
- A mobile number that can receive SMS or WhatsApp
- An email address you’ll still have access to long-term
That’s it. You don’t need a business plan picked out or a payment method ready to create an account — you can choose a plan later.
Step 1 — Request an OTP
Open the Shoopy sign-up page. Enter your mobile number or email address in the Enter Email or Phone field, then click Request OTP.
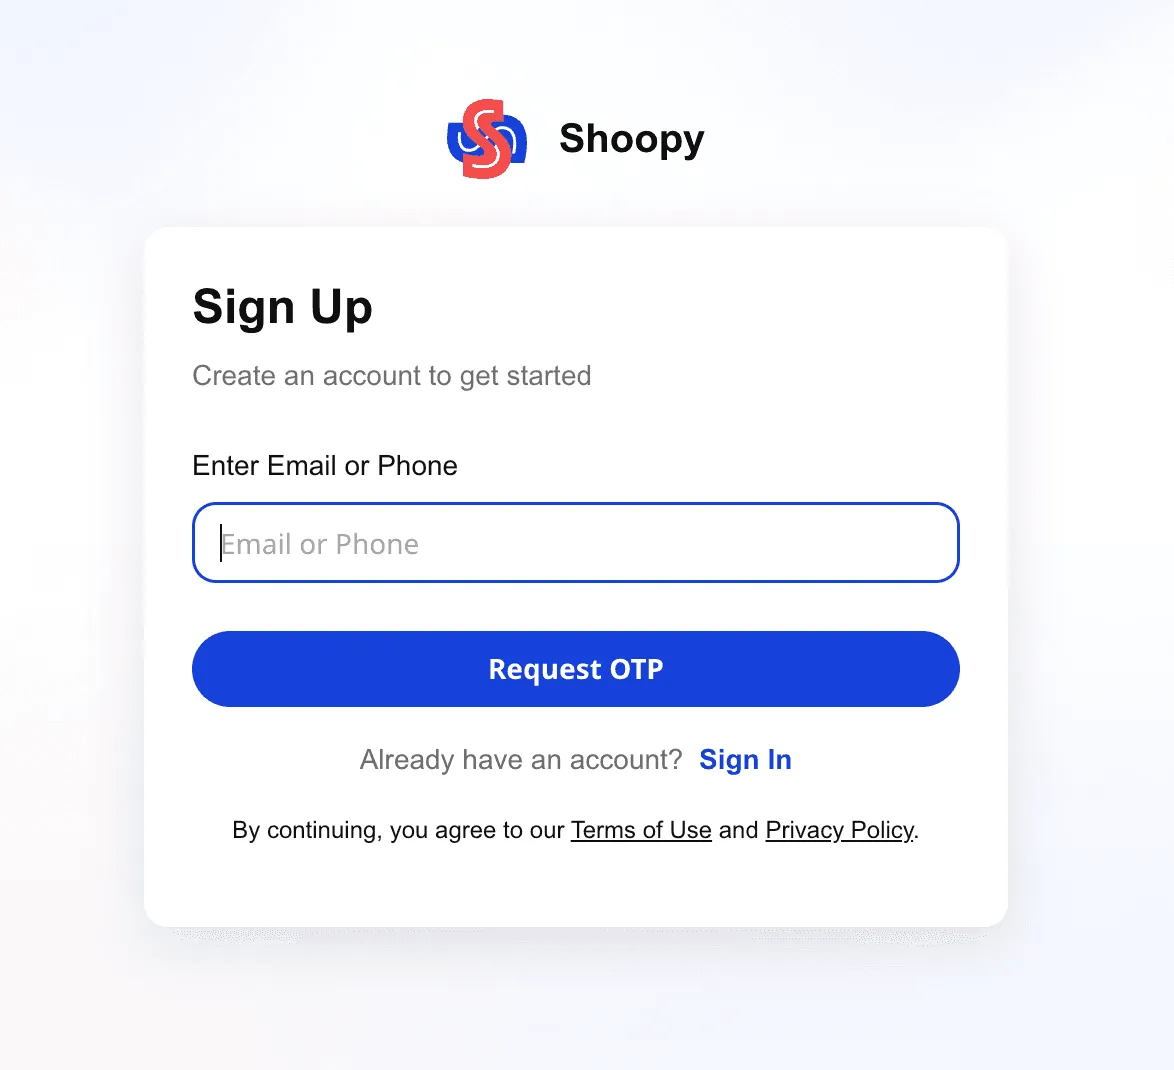
Already have a Shoopy account? Click Sign In at the bottom of the card to log in instead of creating a new store.
Step 2 — Verify with the one-time code
Shoopy sends a 4-digit OTP to the number or email you entered. Type it into the four boxes on the Verify OTP screen, then click Sign Up.
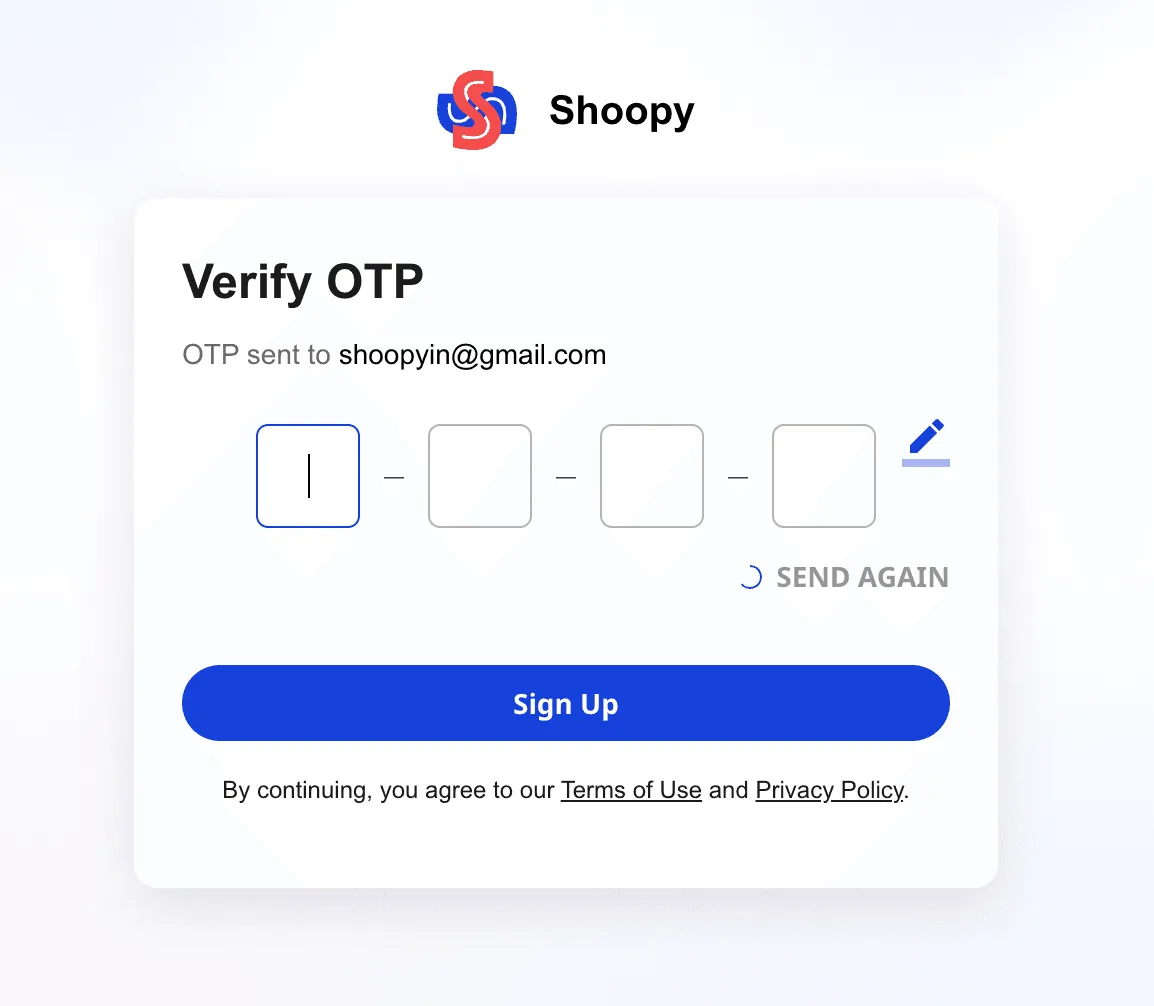
A few things to know on this step:
- If you don’t see the OTP in about 30 seconds, click SEND AGAIN
- Typed the wrong number or email? Click the pencil icon to go back and edit it before requesting a new code
- Each OTP expires after a short window — treat it as single-use
Step 3 — Enter your business details
Once your OTP is verified, Shoopy takes you to the Business Details screen. This is where your store actually gets created.
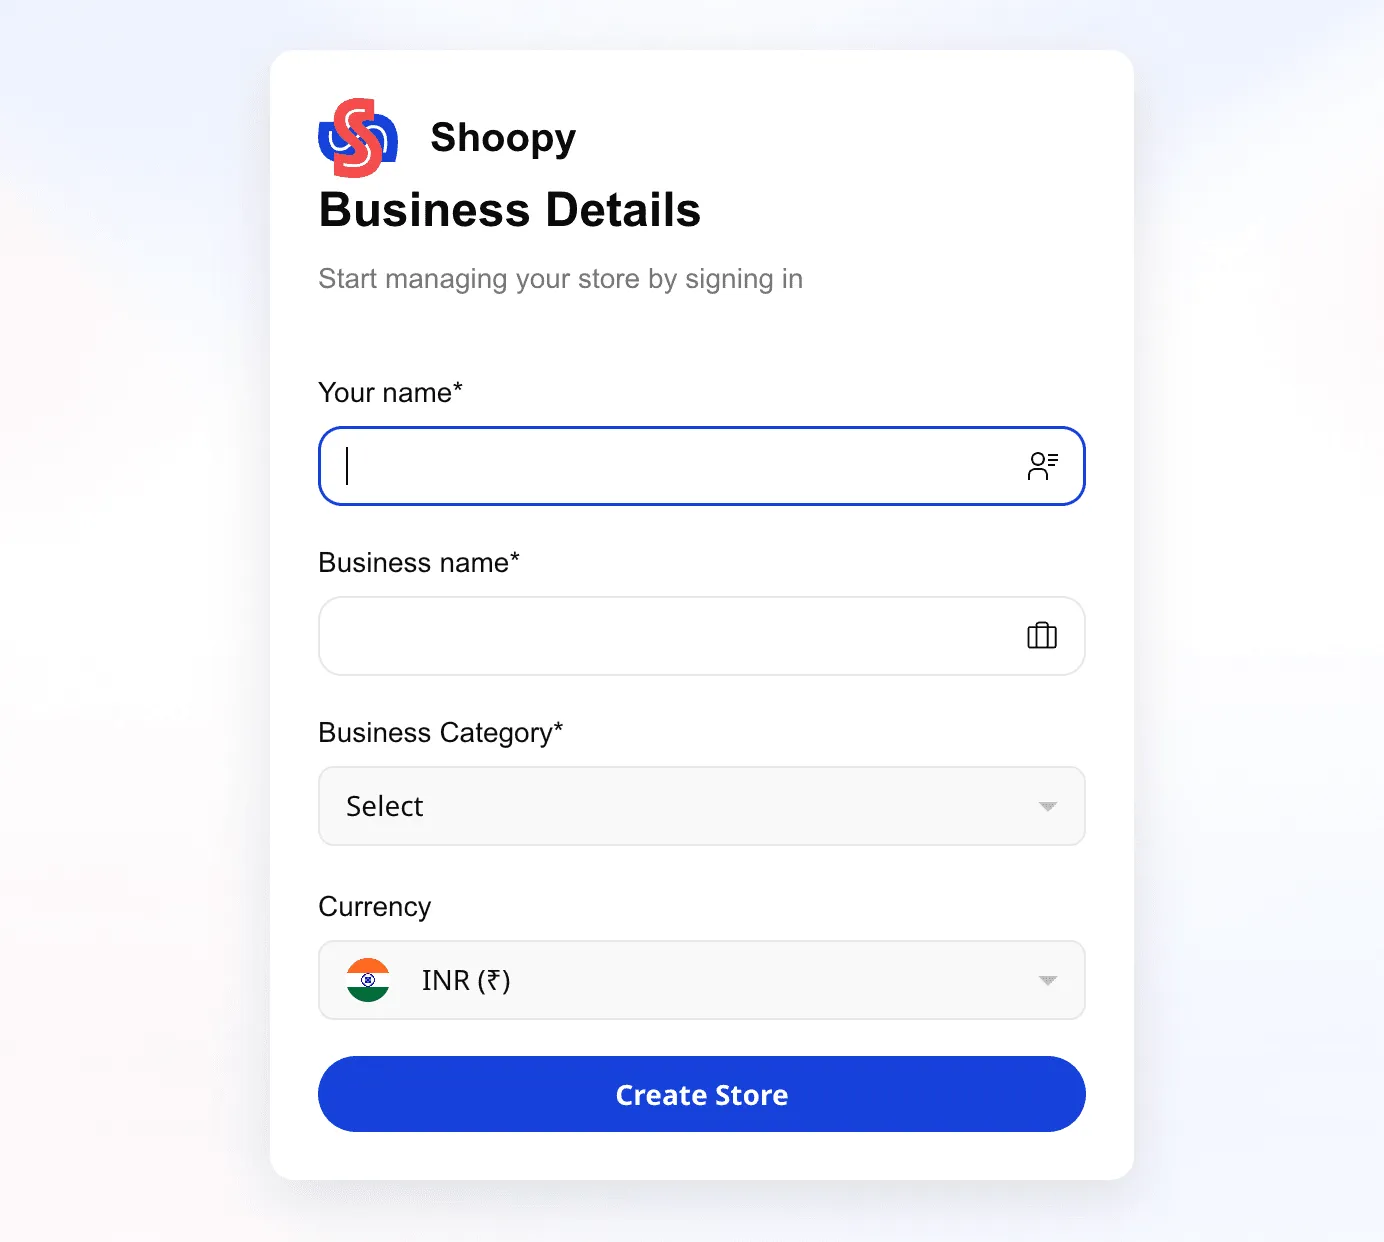
Fill in the form:
| Field | What to enter |
|---|---|
| Your name | The owner or primary contact name |
| Business name | The name of your store (e.g. Rameshwar Sweets) |
| Business Category | Pick the category that best fits your product line |
| Currency | Your default selling currency (defaults to INR) |
Click Create Store. Shoopy provisions your store, logs you in, and takes you straight to the admin dashboard.
For a deeper walk-through of the business-details step and the setup wizard that follows, see Setting up your Shoopy store.
Tips
- Use the phone number you actually use day-to-day. Shoopy will send order alerts and verification codes here, so treat it as your operational number, not a temporary one.
- The email you enter becomes your login email. Pick one you’ll still have access to six months from now.
- You don’t commit to a plan at signup. You can pick or upgrade a plan whenever you’re ready from the Billing Plans page.
Troubleshooting
I didn’t get the OTP
Wait around 30 seconds and try SEND AGAIN. If you entered a phone number, make sure you’re in a network-connected area. If you entered an email, check your spam and promotions folders before retrying.
My OTP is rejected
You may have typed one digit wrong, or the code may have expired. Request a fresh OTP and try again — don’t reuse an old code.
The email or phone I want to use is already registered
Someone (possibly you, in an older session) has already created a Shoopy account with that email or phone. Click Already have an account? Sign In on the sign-up page and log in with OTP there instead of creating a second account.